
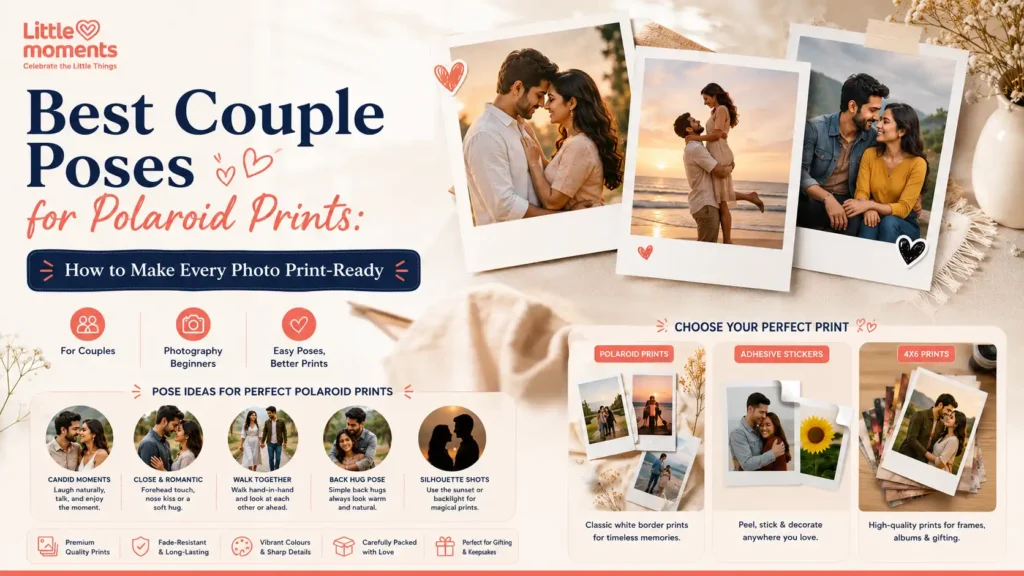
A photo that looks great on your phone can fall apart the moment it is printed at two by three inches.
The reason is simple. On a phone you can zoom in. On a print you cannot. Whatever detail is in the photo is all the detail there will ever be, and if you were standing too far away, the two of you become two small figures in a large empty frame.
Most couple photoshoot poses you find online are shot by professionals with proper lighting and then viewed on a screen. This guide is for the rest of us — poses that survive being printed small, shot on a phone, in Indian light, with no crew standing around.
Why small prints need different poses?
Three things change when a photo becomes a small print.
Faces shrink. A pose where you are ten feet from the camera reads as two dots. Stand closer than feels natural.
Backgrounds compete. On a phone screen, a busy background is just texture. In a print, it fights with you for attention.
Tilt becomes obvious. A slightly crooked horizon is invisible on a screen you are holding at an angle. Stuck on a wall next to a straight door frame, it is all you can see.
Twelve couple poses that print well
Close-up poses
These fill the frame with faces, which is exactly what a small print needs.
1. Forehead to forehead. Both of you look down or close your eyes. It works because it removes the awkwardness of looking at a camera, and it fills the frame completely.
2. One looking, one laughing. One person looks at the camera, the other looks at them and laughs. Far more natural than both of you smiling on command.
3. The whisper. One leans in to say something. Whatever you actually say does not matter — the reaction is the photo.
4. Cheek to cheek, camera held high. The classic selfie angle, but hand the phone to someone else and step back slightly. Same intimacy, better quality.
Half-body poses
Enough space to show what you are wearing, still close enough to see faces clearly.
5. The back hug. One stands behind the other, arms around. Both faces visible, both at slightly different heights, which gives the frame some shape.
6. Walking and talking. Have someone shoot while you walk towards them, mid-conversation. Take twenty; three will be good.
7. Sitting on steps. Steps solve the height problem that makes couple photos awkward. One sits a step higher, both turn slightly inwards.
8. Holding hands, looking away. Both looking off to the same side. This one prints beautifully in black and white.
Full-body and outdoor poses
Use these sparingly in a set of prints — one or two among ten.
9. The twirl. Movement makes a static set of prints feel alive. Shoot it in burst mode and pick the frame where the fabric is at its widest.
10. Silhouette at sunset. Works on any beach, terrace or open field. Expose for the sky and let yourselves go dark. Fewer details means the print holds up beautifully at small sizes.
11. Sitting on a bench, from behind. No faces at all. Sounds like it should not work and it is often the best photo in the set.
12. The wide shot with a landmark. Old city gates, a fort wall, a temple corridor, a metro platform. One per set, no more — these are about place, not about you.
The print-ready checklist
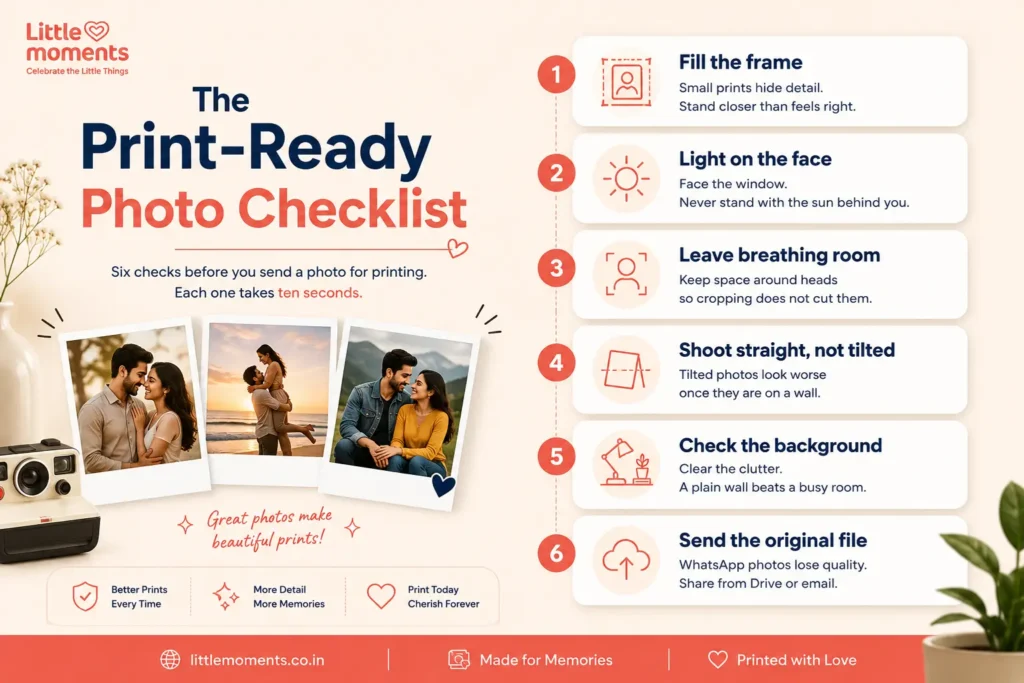
Run through these six before you send anything to print.
Fill the frame. If you are unsure, step closer. Nobody has ever regretted being too close in a small print.
Get the light on your faces. Face the window. Face the sun. If the light is behind you, your faces go dark and no amount of editing fixes it properly.
Leave breathing room. Do not put the top of your head at the very top edge. Printing trims a little from every side, and that is where heads get cut.
Shoot straight. Hold the phone level. Turn the grid on in your camera settings and use the lines.
Check what is behind you. Move the plastic chair. Wait for the auto to pass. A plain wall beats a busy street every time.
Send the original file. This is the one people get wrong most often. Photos sent over WhatsApp are compressed heavily and print soft and blocky. Share from Google Drive, email the original, or use the “keep original” option.
Lighting, in Indian conditions
Harsh overhead sun between 11am and 4pm is the enemy of every couple photo in this country. It creates shadows under the eyes and makes everyone squint.
Best times: the first hour after sunrise and the last hour before sunset. Soft light, warm colour, no squinting.
If you must shoot at noon: find open shade. Under a tree, on a covered verandah, in the shadow of a building. Never in patchy dappled shade — the spots print as strange bright blotches.
Indoors: stand facing a window, about three feet back. This one trick improves indoor photos more than any app.
At night: find a light source and get close to it. A streetlight, a shop front, string lights. Phone night mode struggles with movement, so stay still.
Where to shoot in India
You do not need a location scout. Some of the best couple photoshoot poses in India come out of ordinary places:
- Your own terrace at sunset, especially in a city with a skyline
- Old city lanes in Delhi, Jaipur, Ahmedabad, Kochi — texture and colour without any setup
- A regular café by a window, in the afternoon
- The stairs of any old building
- A beach or lakeside an hour before sunset
- Home — the sofa, the kitchen, the balcony. Photos at home age better than posed ones outside
Crop before you print
Two minutes of cropping does more for a print than any filter.
Match the shape to the print. Polaroid style prints are close to square. If you crop to square yourself, you decide what stays in the frame. If you do not, the printer decides for you.
Cut the empty space. Sky, floor, empty road — all of it can go. Faces should be a decent portion of the frame.
Keep the eyes in the upper third. This one rule makes portraits look composed rather than accidental.
Check the edges last. Anything near the border may get trimmed. If it matters, move it inward.
What to do with the prints?
A set of prints sitting in an envelope is a missed opportunity.
Clip them to string lights along a wall. Stick them into a polaroid photo album as a gift. Use adhesive polaroid stickers on a journal or the back of a laptop. Turn the best three into fridge magnets so you see them every morning.
If you are printing for a wall, our guide to photo wall layouts covers the arrangements that work.
For a first order, mini polaroid prints are the cheapest way to see how your photos actually look on paper. Print twenty, see which ones hold up, then order the good ones larger.
Frequently asked questions
Forehead to forehead, the back hug, and one person laughing at the other. All three remove the pressure of posing for a camera.
No. Any phone from the last five years is enough, as long as you shoot in good light and send the original file rather than a WhatsApp copy.
Why do my printed photos look blurry?
Almost always because the file was compressed. Send the original from Google Drive or email instead of a chat app.
Polaroid size for casual sets and walls. 4×6 if faces need to be visible from across a room.
Print ten to fifteen from a session of a hundred. Choosing ruthlessly is what makes a set look good.
Print your set: browse custom polaroid photo prints and 4×6 photo prints. Free shipping above ₹599.